
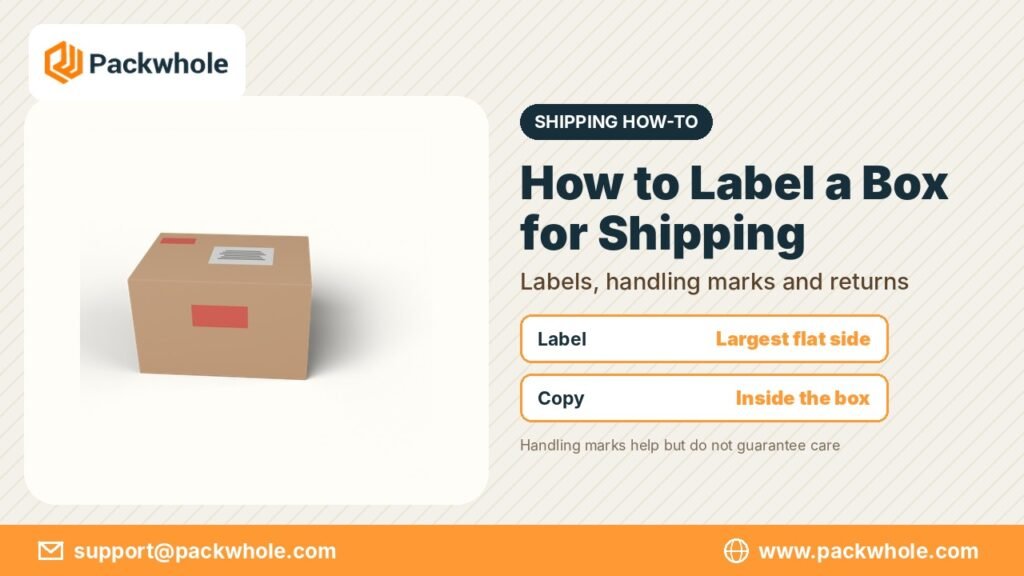
A carefully packed parcel can still go astray if the outside is confusing. Carriers handle millions of boxes a day using scanners, sorting machines and busy people, so clear labeling matters. Knowing how to label a box for shipping helps your parcel move smoothly through the network, reach the right door and get handled with the care it needs.
This guide covers where to place the shipping label, which handling marks to use, how to add return information, what to put inside the box and the labeling mistakes that cause most delays.
Start With a Clean Box
Labeling begins before you print anything. If you are reusing a box, remove or completely cover old shipping labels, barcodes and tracking numbers. Scanners can read the wrong code and send your parcel somewhere unexpected. Cross out or cover old carrier logos and handling marks that no longer apply. A clean surface also helps new labels stick firmly.
Placing the Shipping Label
The shipping label belongs on the biggest flat panel, which is usually the top. Keep it away from seams, edges and corners, where it can be torn or folded. The label should sit flat and face up, so the barcode is easy to scan. If the box has a handle cut-out, avoid placing the label near it.
- Choose the largest flat surface.
- Keep the label away from seams, tape and edges.
- Smooth it from the center outward to remove bubbles.
- Make sure the barcode is not wrinkled or covered.
If you print on plain paper, attach the label with clear tape across all edges, keeping the tape smooth over the barcode. Our guide on how to print shipping labels covers printer options and label sizes.
Writing an Address by Hand
If you are not printing a label, write the address clearly in the center of the top panel. Use a dark permanent marker and capital letters. Line one is the recipient, line two is the street and unit number, and line three is the city, state abbreviation and ZIP Code. Write your return address in the upper left corner in smaller letters. Our address labels guide shares more formatting tips.
Handling Marks: Fragile, This Side Up and More
Handling marks tell people how to treat the box. They do not guarantee special handling, because parcels still travel on conveyors and in trucks, but they can reduce rough treatment. Use marks only when they truly apply, since overusing them makes them less meaningful.
| Mark | When to use |
|---|---|
| Fragile | Glass, ceramics, electronics |
| This Side Up (arrows) | Liquids or items that must stay upright |
| Do Not Stack | Boxes that cannot bear weight |
| Keep Dry | Paper goods or moisture-sensitive items |
| Perishable | Food or items with limited shelf life |
Place arrows on at least two opposite sides so they are visible no matter how the box is turned. Our post on packaging symbols explains the meaning of common icons.
Hazardous and Restricted Items
Some items, such as batteries, aerosols, perfume, nail polish and certain chemicals, have special shipping rules and may need specific labels or packaging. Requirements differ between carriers and services, and some items cannot be shipped by air at all. Check the carrier’s current guidance before shipping anything that might be hazardous. This article covers everyday labeling and does not replace official hazardous materials rules.
Adding a Return Address
A return address is essential. If the parcel cannot be delivered, it needs somewhere to go back to. Most printed shipping labels include the sender address automatically, but adding a separate return address label or printing it on the box adds a backup. Businesses often use branded return labels for a professional look.
Inside the Box: Your Safety Net
Outside labels can be torn, smudged or soaked. Placing a copy of the delivery and return addresses inside the box helps carriers deliver or return it if the outer label is damaged. A packing slip listing the contents helps the customer and makes returns easier. For businesses, an insert card with a thank-you message or care instructions adds a personal touch.
- Copy of both addresses on a card or slip
- Packing slip or order summary
- Return instructions if applicable
- Thank-you or care card for customers
Labeling Multiple Boxes in One Shipment
When sending several boxes to the same address, each box needs its own label and tracking number. Mark them “1 of 3,” “2 of 3” and so on, so the recipient knows how many to expect. This is especially helpful for large orders, office moves and wholesale shipments. Keep a list of tracking numbers so you can check that every box arrives.
Labeling Boxes for Moves and Storage
Moving and storage boxes need different labels than parcels. Mark each carton with the room it belongs in and a brief list of what is inside, on the top and two sides. Color-coded stickers by room speed up unloading. Our moving boxes guide covers sizes and labeling for home moves in more detail.
Branded Boxes and Label Space
If you ship regularly, consider printed boxes that leave a clear panel for the shipping label. Designers often keep the top panel simple or include a dedicated label area, while placing branding on the sides and inside. This keeps the shipping label easy to read and ensures your logo still shows. Both custom shipping boxes and printed mailer boxes can include a dedicated label area.
Common Labeling Mistakes
Most labeling problems are easy to prevent. Before sealing and sending a box, run through this quick list.
| Mistake | Fix |
|---|---|
| Old barcodes visible | Remove or fully cover them |
| Label on a seam or edge | Move it to a flat panel |
| Missing unit or suite number | Double-check the address |
| No return address | Add one outside and inside |
| Faded or blurry print | Reprint with fresh ink or toner |
A Quick Checklist Before You Ship
Once you know how to label a box for shipping, the process takes only a minute. Check that the box is clean, the label is flat and readable, handling marks are on more than one side, the return address is present and a copy of the addresses is inside. These small habits reduce delays, lost parcels and customer complaints.
Labeling for Different Carriers
The basics of how to label a box for shipping are similar across carriers, but each has its own label formats and rules. Labels printed through a carrier’s website or a shipping platform are already formatted correctly. If you switch carriers, make sure the old carrier’s label and barcode are removed or covered completely. Some carriers also ask that the label not be placed over tape seams or wrapped around edges, which is good practice for any service.
For international shipments, customs forms and declarations are attached alongside the shipping label, often in a clear pouch. These forms describe the contents and value, and incomplete paperwork can cause delays at the border. Check the carrier’s current instructions before sending parcels abroad.
Training Staff to Label Consistently
If several people pack orders, consistency matters. A short written checklist taped to the packing table helps everyone follow the same steps. Include where the label goes, which handling marks to use and what goes inside the box. Review a few packages each week to make sure the routine is followed. Good habits reduce lost parcels and customer complaints, and they make learning how to label a box for shipping easy for new staff.
Boxes Designed With a Clear Label Panel
Planning printed shipping boxes? Tell us the size of your carrier label and where your branding should go, and we will design a box that keeps both clear. The template is prepared free, a mockup comes to you for review, we take on smaller first orders and work to quick timelines. Contact support@packwhole.com, or request shipping box pricing at www.packwhole.com.