Tuck end boxes are everywhere, from lipstick and supplements to toothpaste and tea. At a glance they look identical, yet there are two main styles, and the difference affects cost, appearance and how customers open the box. The reverse tuck vs straight tuck decision is one of the first structural choices you make when designing a folding carton.
This guide explains how each style closes, where each one shines, and how to choose between them for your product and budget.
How Tuck End Boxes Work Before You Compare Reverse Tuck vs Straight Tuck
A tuck end box is a folding carton with a closure flap at each end. Each flap has a narrow tongue, called a tuck, that slides inside the box to close it. Small dust flaps on the sides fold in first to keep contents secure and dust out. The box ships flat and is assembled by folding the body and tucking the ends closed.
The difference between the two styles is the direction the top and bottom closure flaps come from. That simple change affects how the box looks from the front, how much board is used and how quickly it can be assembled.
What Is a Reverse Tuck End (RTE) Box?
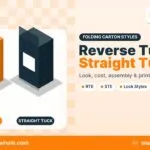
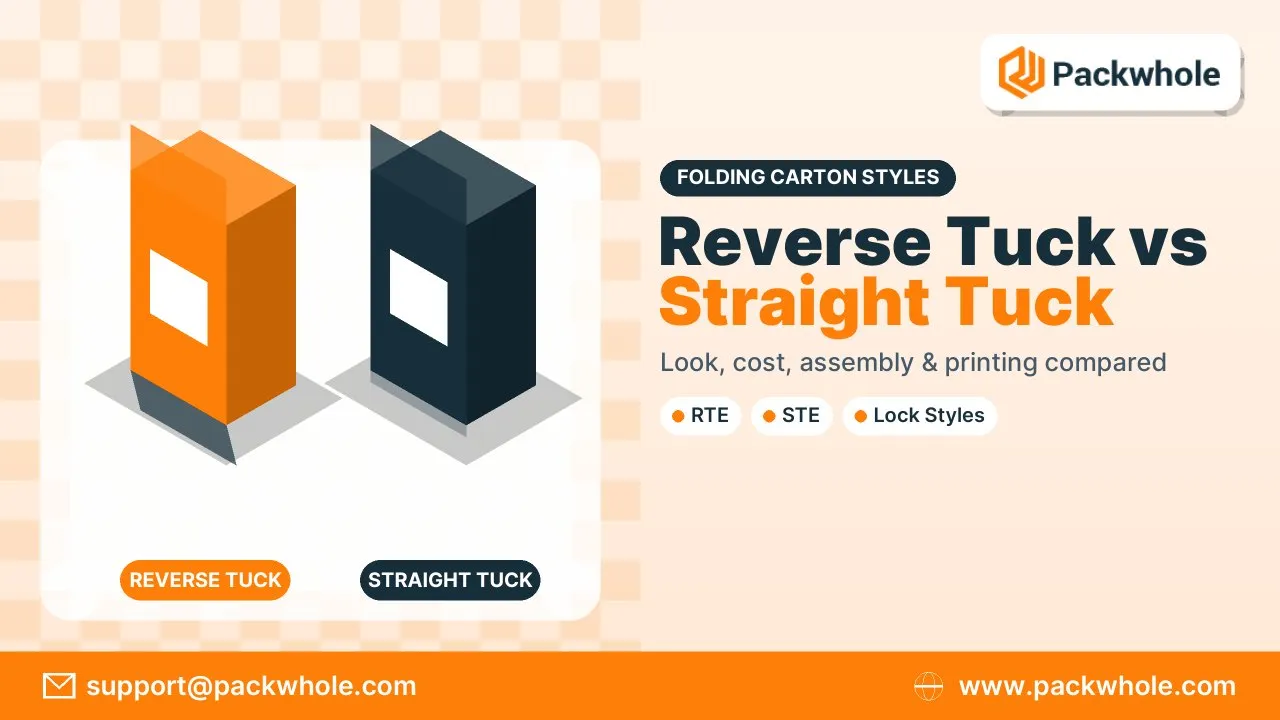
In a reverse tuck end box, the top closure flap folds from the back panel toward the front, while the bottom closure flap folds from the front panel toward the back. The flaps are on opposite sides, so the box is sometimes described as having a “front-to-back, back-to-front” closure.
Advantages of reverse tuck:
- Efficient layout: the blanks fit together tightly on the printing sheet, often reducing board waste and cost.
- Fast assembly: popular for high-volume retail cartons.
- Very common: most printers and factories run it daily.
- Good for lightweight products: cosmetics, supplements, small electronics accessories.
Because the bottom flap comes from the front, part of the closure is visible at the bottom front edge, which some brands notice on premium designs.
What Is a Straight Tuck End (STE) Box?
In a straight tuck end box, both the top and bottom closure flaps fold from the same panel, usually the back toward the front. This gives a clean, uninterrupted front panel with no closure edges visible on the main display face.
Advantages of straight tuck:
- Cleaner front panel: ideal when the front carries a large image, window or premium design.
- Better for windows: closures do not interfere with a front window area.
- Premium appearance: popular for cosmetics, fragrance samples and gift items.
- Consistent opening: both ends open the same way, which some customers find intuitive.
The trade-off is that straight tuck blanks often do not nest as efficiently on the sheet, which can raise cost slightly on large runs.
Reverse Tuck vs Straight Tuck: Side-by-Side Comparison
Comparing the two styles on the factors that matter most makes the choice clearer. Neither style is better for every product. The right answer depends on your design priorities, product weight and order size.
| Factor | Reverse Tuck End (RTE) | Straight Tuck End (STE) |
|---|---|---|
| Closure direction | Top from back, bottom from front | Both from the same side |
| Front panel look | Small closure edge visible at bottom | Clean, uninterrupted front |
| Board efficiency | Usually better nesting, lower waste | Often slightly more waste |
| Cost on large runs | Typically lower | Typically slightly higher |
| Window placement | Possible, but plan around flaps | Easier on front panel |
| Common products | Supplements, cosmetics, retail goods | Premium cosmetics, fragrance, gifts |
For many brands, reverse tuck is the default for budget and speed, while straight tuck is chosen when the front panel design is the top priority.
Locking Features: Friction Lock vs Slit Lock
Both tuck styles can use different methods to keep the closure flap shut. The locking style affects how secure the box feels and how often it pops open on shelves or in transit. Choosing the right lock is just as important as choosing the tuck direction.
Common options:
- Friction lock: small curved cuts on the tuck create friction against the dust flaps. Standard and easy to open.
- Slit lock: a slit in the closure flap catches the tuck for a firmer hold, good for heavier products.
- Tuck with thumb notch: a curved cut on the front makes the flap easier to open.
- Auto bottom variants: a tuck top combined with a pre-glued crash-lock bottom for heavier items.
For heavier products, a seal end auto bottom style or other locking bottom may be safer than a tuck at both ends.
Reverse Tuck vs Straight Tuck: Which Style Fits Your Product?
The reverse tuck vs straight tuck choice gets easier when you start from the product and the shelf. Think about what the customer sees first, how heavy the item is and how many boxes you will order. These examples show how different brands typically decide.
- Lip balm, mascara, lipstick: reverse tuck for value, straight tuck for luxury lines.
- Serums and skincare bottles: straight tuck when a clean front matters, reverse tuck for basics.
- Supplements and vitamins: reverse tuck for large runs and lower cost.
- Tea, candles and gift sets: straight tuck for premium presentation.
- Small electronics accessories: reverse tuck with a hang tab for retail pegs.
Our older guide to the roll end front tuck box with dust flaps covers a related style often used for mailers.
Design Tips for Tuck End Boxes
Good structure and good artwork work together. The dieline shows where every flap folds, so artwork must respect those lines to look right when assembled. Small details make tuck end boxes look professional.
Tips to follow:
- Keep text and logos at least 1/8 inch from folds and cut lines.
- Extend background colors 1/8 inch past cut lines for bleed.
- Print the inside of the tuck flap with a pattern or message for a surprise detail.
- Place barcodes on a back or side panel away from folds.
- Ask for a physical sample to test how the closure feels.
If you are new to structural files, read what a dieline is before preparing artwork.
Mistakes to Avoid With Tuck End Boxes
Tuck end boxes are simple, but mistakes still happen, especially when artwork is created before the structure is confirmed. Fixing these early saves reprints. These are the problems we see most often.
- Designing the front panel without checking which flap will be visible.
- Using thin board for heavy products, causing flaps to pop open.
- Placing important text on dust flaps that are hidden when closed.
- Choosing straight tuck for very large runs without comparing cost.
- Forgetting a hang tab or window when the retail display needs one.
Order Tuck End Boxes in Either Style From PackWhole
Our team produces product boxes, folding cartons and cosmetic boxes in both tuck directions, so the reverse tuck vs straight tuck choice is entirely yours. Our designers will recommend the best tuck direction and locking feature for your product, and we provide free dielines and digital proofs. Small minimums mean you can sample both styles before deciding.
Let us know your product size and design goals at support@packwhole.com, or explore folding carton styles on www.packwhole.com.
Reverse Tuck vs Straight Tuck FAQs
These are the questions brands ask most when choosing a tuck end style. If you are still unsure, compare physical samples of both with your product inside.
Which tuck style is cheaper?
Reverse tuck is usually cheaper on large runs because the blanks nest more efficiently.
Which tuck style looks more premium?
Straight tuck, because the front panel stays clean with no closure edge.
Can both styles have a window?
Yes, but windows are easier to place on the front panel of a straight tuck box.
Are tuck end boxes strong enough for shipping?
They are retail cartons; ship them inside an outer mailer or shipping box.
What board thickness suits tuck end boxes?
Most use 14 to 18 pt paperboard, depending on product weight.