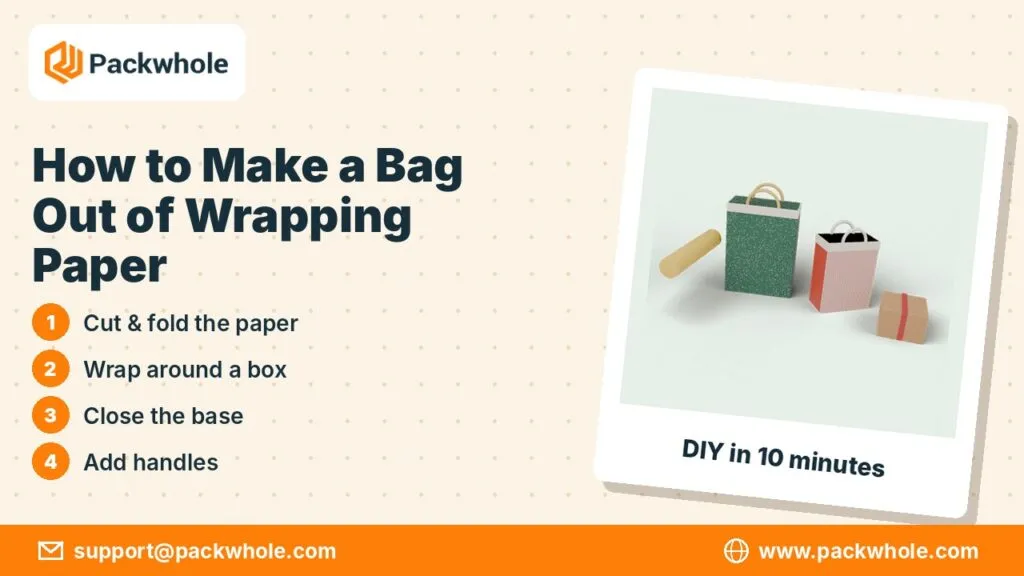
Ran out of gift bags, or have an oddly shaped present that refuses to sit neatly in a box? Learning how to make a bag out of wrapping paper solves both problems in about ten minutes. All you need is a sheet of paper, tape or glue, scissors and a piece of card for the base. The finished bag looks store-bought, matches your wrapping exactly and can be sized to fit almost any gift.
Below you will find the supplies list, a size chart, the full folding method, ideas for handles and closures, and tips for making the bag strong enough for heavier items.
What You Need Before You Start
Before you learn how to make a bag out of wrapping paper, gather a few household supplies. Thicker wrapping paper gives the best result, because thin paper can tear at the folds or show the gift through the sides. If your paper is very thin, you can double it up or line it with a sheet of plain paper.
- A rectangle of wrapping paper (see the size chart below)
- Double-sided tape or a glue stick
- Scissors and a ruler
- A box or book slightly smaller than the gift, to use as a folding form
- A piece of cardboard or card stock for the base
- Optional: ribbon, cord or a hole punch for handles
Kraft paper is a strong choice if you want a sturdier bag. Our guide to kraft wrapping paper explains why it holds folds so well.
Paper Size Chart for Homemade Gift Bags
The size of the paper decides the size of the bag. A simple rule is that the paper width should wrap around the folding form with about one inch of overlap, and the paper height should equal the bag height plus about two-thirds of the form’s depth for the base folds, plus a little extra for a folded top edge.
| Finished bag (W x D x H) | Paper sheet to cut | Good for |
|---|---|---|
| 4 x 2.5 x 6 inches | 14 x 10 inches | Jewelry, gift cards, small treats |
| 6 x 3 x 8 inches | 19 x 12 inches | Candles, mugs, cosmetics |
| 8 x 4 x 10 inches | 25 x 15 inches | Books, clothing, snacks |
| 10 x 5 x 13 inches | 31 x 19 inches | Toys, larger apparel, gift sets |
If you want to compare with ready-made options, see our list of standard gift bag sizes.
How to Make a Bag Out of Wrapping Paper: The Folding Method
The easiest way to get crisp, even sides is to fold the paper around a box or a thick book. The form does the measuring for you, so the bag comes out square without a ruler. Work on a clean, flat table and take your time pressing each crease firmly.
- Cut the paper. Cut a rectangle using the size chart. Place it pattern side down.
- Fold the top edge. Fold about one inch along the top long edge for a clean, strong rim.
- Wrap the form. Stand the box near the bottom of the paper, leaving enough paper below it for the base. Wrap the paper around the box so the ends overlap at the back.
- Seal the seam. Tape or glue the overlap along its full length.
- Fold the base. Fold the paper at the bottom of the box upward, then push the two short sides in, like wrapping a present, so you form two triangular flaps.
- Close the base. Fold the long top flap down and the bottom flap up, overlapping in the middle, and tape them securely.
- Add the card base. Cut a piece of cardboard to the base size and slip it inside the bag to keep it flat.
- Slide out the form. Gently remove the box or book.
- Crease the sides. Pinch the side panels inward to create the classic gusset fold, so the bag can fold flat and stand up.
- Finish the top. Add handles, a ribbon closure or a folded-over flap.
The same steps work for any size; just change the form and the paper. If you prefer a sturdy container, our tutorial on how to make a paper box is a good next project.
Handle and Closure Ideas
The top of the bag is where you can get creative. Handles make the bag easy to carry, while closures keep the gift hidden until it is opened. Reinforce the top edge before punching holes, or the paper may tear when the bag is lifted.
- Ribbon handles: punch two holes on each side and thread ribbon through, knotting it inside.
- Twisted paper cord: roll a strip of matching paper into a cord for a seamless look.
- Fold-over flap: fold the top down twice and seal it with a sticker or washi tape.
- Clothespin or clip: fold the top and add a wooden pin with a gift tag.
- Tissue topper: leave the top open and tuck tissue paper inside for a classic gift bag finish.
How to Make the Bag Stronger
Wrapping paper is designed for wrapping, not carrying weight, so if you plan to make a bag out of wrapping paper for a heavy gift, it needs a little help. The base and the handle area take the most strain, so reinforce those first.
- Use a thicker card base, or two layers glued together.
- Line the bag with a second sheet of plain paper before folding.
- Add a strip of card inside the top edge before punching handle holes.
- Use strong double-sided tape rather than a glue stick on the main seam.
- Keep heavy items, such as bottles, under a few pounds, or use a sturdier gift box instead.
Common Mistakes to Avoid
Most problems people face when they learn how to make a bag out of wrapping paper come from rushing the folds or choosing the wrong paper. A few small checks before you start will save you from torn corners and lopsided sides.
| Mistake | What happens | Fix |
|---|---|---|
| Paper too small | Base will not close | Add extra paper below the form |
| Very thin or glossy paper | Tears at creases or will not hold glue | Double the paper or use kraft |
| Weak creases | Bag looks rounded and sags | Press every fold with a ruler edge |
| No card base | Bottom bulges and tips over | Add a cardboard insert |
| Handles in thin paper | Holes tear when lifted | Reinforce the rim before punching |
Creative Variations to Try
Once you have mastered the basic bag, it is easy to change the look. Mixing papers, adding windows or combining textures can turn a quick project into a memorable part of the gift.
- Two-tone bag: use a contrasting paper for the folded top cuff.
- Window bag: cut a small window and back it with clear film to show the gift.
- Mini favor bags: make tiny bags for party favors or candies.
- Upcycled bag: use leftover wrapping paper, maps or newspaper for a rustic style.
- Holiday set: make several bags in the same paper for a matching gift collection, or see our holiday gift box packaging ideas.
For more decorating tips, read our guide on how to customize gift bags and our step-by-step how to wrap a gift box tutorial.
When to Choose Custom Printed Gift Bags Instead
Homemade bags are perfect for a few personal gifts, but they are not practical when you need dozens or hundreds. Boutiques, bakeries, event planners and brands need bags that look identical, carry weight reliably and show their logo. That is where custom printed bags make more sense than folding paper by hand.
Packwhole produces custom paper bags and gift bags with your logo, colors and handles of your choice, in sizes that suit your products. Browse our custom bags collection to see the available styles.
Order Branded Gift Bags From Packwhole
If you enjoyed learning how to make a bag out of wrapping paper but need a faster option for your business, our team can help. We offer a free dieline, a digital proof before printing, low minimums and fast turnaround on custom printed bags. Email [email protected] or request pricing at www.packwhole.com and tell us the size and quantity you need.