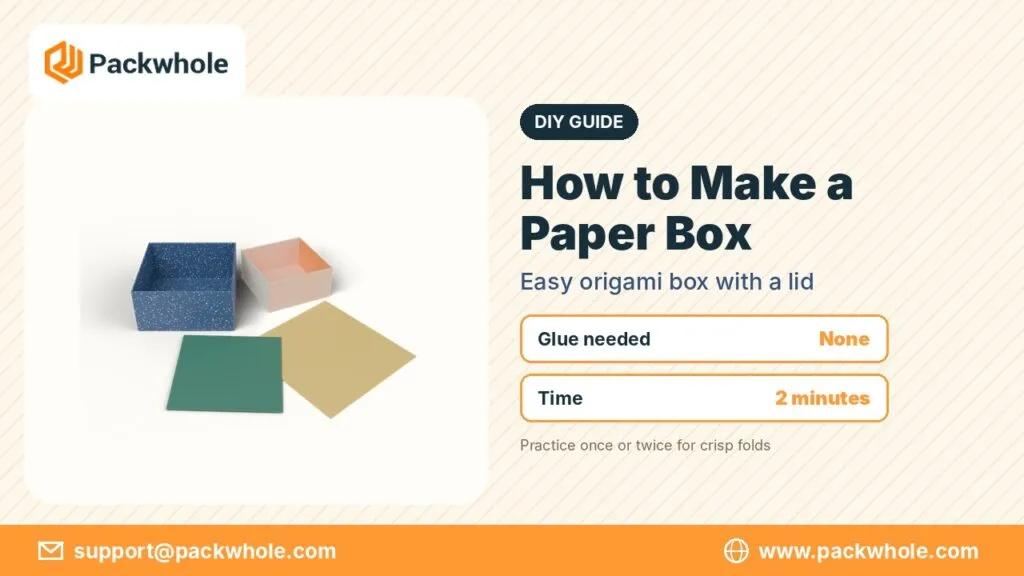
A handmade paper box is a small project with big charm. It can hold a ring, a few chocolates, party favors or desk clutter, and it costs almost nothing to make. Learning how to make a paper box is also a great rainy-day activity with kids, a calm hobby for adults and a practical skill when you need a tiny gift box at the last minute.
This guide covers two easy methods: a classic origami box folded from a single square, and a simple box with a lid made from two squares. It also explains how to size your paper, which paper works best and how to decorate the finished box.
What You Need
The only essential supply is paper. A ruler and a bone folder, or the back of a spoon, help make crisp creases, but fingers work too. For a lidded box, you will need two sheets, one slightly larger than the other.
- Square paper (origami paper, scrapbook paper or trimmed printer paper)
- A ruler for measuring and trimming
- A bone folder or spoon for sharp creases
- Optional: glue stick, ribbon, stickers for decoration
Choosing the Right Paper
Thin origami paper folds easily and holds crisp creases, which makes it ideal for beginners. Scrapbook paper is thicker and gives a sturdier box, though it can crack at the folds if it is too heavy. Printer paper works fine once trimmed into a square. Avoid very glossy paper, which can slip and crack, and very thick cardstock, which is hard to fold neatly in this style.
| Paper type | Strength | Ease of folding |
|---|---|---|
| Origami paper | Light | Very easy |
| Printer paper | Light to medium | Easy |
| Scrapbook paper | Medium | Moderate |
| Thin cardstock | Strong | Harder, may crack |
Method 1: Classic Origami Box (Masu Box)
The masu box is a traditional Japanese design folded from one square sheet with no glue. It forms an open box with neat, strong walls.
- Start with a square sheet, colored side down. Fold it in half diagonally both ways and unfold, leaving an X crease.
- Fold all four corners to the center point, forming a smaller square.
- Fold the top and bottom edges to the center line, crease well, then unfold.
- Fold the left and right edges to the center line, crease, then unfold.
- Open the top and bottom triangles so the square looks like a long hexagon shape.
- Fold the left and right sides upward along the creases to form two walls.
- Lift one open end, push the corners inward along the creases and fold the flap over the wall into the box.
- Repeat on the other end, then press all corners firmly to set the shape.
The first attempt may look a little uneven, but the second one usually comes out neat. Precise creases in the early steps make the final box much tidier.
Method 2: A Paper Box With a Lid
To make a lid, fold a second masu box from a slightly larger square. For a snug fit, the lid square should be about a quarter to half an inch larger than the base square. If the base is made from a 6-inch square, try a 6.5-inch square for the lid. Fold both boxes the same way, then slide the lid over the base.
Test the fit before decorating. If the lid is too tight, use a slightly larger square; if it slides off too easily, trim the square down a little. This simple adjustment is the secret to a lid that feels satisfying when it opens and closes.
How to Size Your Box
The finished masu box is roughly a third the width of the starting square and about a sixth of its width in height. That means a 6-inch square makes a box around 2 inches wide and 1 inch tall. To make a box for a specific item, measure the item, multiply the width by three and start with a square about that size, then adjust after a test fold.
| Starting square | Approx. finished box |
|---|---|
| 6 inches | About 2 x 2 x 1 inches |
| 9 inches | About 3 x 3 x 1.5 inches |
| 12 inches | About 4 x 4 x 2 inches |
Decorating Your Paper Box
Decoration turns a simple fold into a personal gift. Patterned paper does most of the work, but you can also add stamps, stickers, washi tape or a ribbon tied around the lid. A small tag with a name or message adds a finishing touch. For parties, make a set of boxes in matching colors and fill them with candy or small favors.
Fun Uses for Handmade Boxes
Paper boxes are useful as well as pretty. They can hold jewelry, paper clips or small craft supplies on a desk. They make lovely containers for wedding favors, advent calendar surprises and classroom treats. Kids enjoy making them for small toys or as gift boxes for family members. Because they fold flat before the final step, you can prepare a stack in advance and assemble them when needed.
Teaching Kids How to Make a Paper Box
Children love seeing a flat sheet turn into a three-dimensional box. Start with larger squares, such as 8 or 9 inches, which are easier for small hands. Demonstrate each fold slowly and let them follow along. Bright origami paper keeps the activity fun. Once they master the basic box, challenge them to make a lid or to create boxes in different sizes that nest inside one another.
When a Handmade Box Is Not Enough
Paper boxes are perfect for small, light items and personal gifts, but they are not designed for shipping or retail shelves. For products that need protection, branding and consistent quality, a professionally made box is the better choice. Commercial boxes start from a flat template, described in what is a dieline, and custom gift boxes with logo show what a printed version can look like. For wrapping finished boxes, see how to wrap a gift box.
Tips for Cleaner Folds
A few habits make every box look better. Work on a hard, flat surface. Line up edges and corners exactly before pressing a crease. Run a bone folder or fingernail along each fold to sharpen it. If paper is slightly off-square, trim it before starting, because small errors grow with every fold. Practicing how to make a paper box a few times builds muscle memory, and soon you can fold one in under two minutes.
Making Boxes in Different Shapes
Once you are comfortable with the square box, you can experiment with rectangles. Start with a rectangular sheet, fold it in a similar way and adjust the creases so the long sides form taller walls. The result is a narrow box that suits pens, bracelets or chocolate bars. Paper crafters also make triangular, hexagonal and star-shaped boxes, though these need more practice and sometimes a little glue.
Another fun variation is a box with a divider. Fold a narrow strip of paper into a zigzag and slip it inside to create two or three small compartments. This is handy for sorting beads, buttons or small candies. Each variation teaches you more about how to make a paper box that suits a specific use, and it makes the hobby more creative.
Using Handmade Boxes for Events
Handmade boxes are popular at weddings, baby showers and holiday parties. Folding them in batches is relaxing, and they can be made in the exact colors of the event. Place a few sweets inside, close the lid and add a small tag with a guest’s name to double as a place card. For classroom parties, kids can decorate their own boxes before filling them with treats.
If you need dozens of boxes, set up a simple assembly line. One person cuts the squares, another makes the first set of creases and another finishes the walls. Learning how to make a paper box in a group turns preparation into part of the celebration.
Turning a Handmade Idea Into a Product Box
If your handmade boxes have inspired a product idea, we can help bring it to production. Share the size and style you have in mind; our structural team turns it into a print-ready template at no added charge, sends a digital mockup for review, produces small pilot batches and moves quickly. Contact support@packwhole.com, or look through our structural options on www.packwhole.com.